Showing posts with label Gardening Blog: Vegetable Garden. Show all posts

Monday, April 11, 2016

New Seedling Crisis

You cannot say I have skated through the seedling process, but trial and error is the only way to learn what works best for you in your particular situation.

I've been pulling the bio-degradable cups from the tray periodically to see if they are still wet; so I don't over water the plants and get another round of mold.  Well guess what I found on the cups?  Right, MOLD!!

I am done using this type of product.  It has been a waste of time and money (for product and potting soil).  Next year I am sticking with the standard 6 pack and 4" pots that professional greenhouses use.

I had to re-pot all of the celeriac, tomatoes, bell peppers, hot peppers and cucumbers since I still have 4.5 weeks before it is safe to plant outside and I did not want the mold to spread to the plant roots and kill my entire seedling crop.

All are safe and sound in their new homes and seem to have survived the transplant.

The Diva Farmer ~ Come Grow With Us


AeroGarden Update 4-11-16

AS of this morning all of the plants have outgrown their plastic domes; it has been 11 full days since they were started.


The Diva Farmer ~ Come Grow With Us

Wednesday, March 30, 2016

Mary, Mary Quite Contrary...How Does Your AeroGarden Grow?


Year-Round Indoor Gardening

Who doesn't want fresh, organic vegetables year-round?  It's easy and fun to have a sustainable food supply indoors when you use container gardening and grow lights.   One great options is the AeroGarden.  I have been using AeroGarden for nearly a year to grow lettuce greens and herbs indoors.  With my AeroGarden I only harvest what I need for each salad and I don't have any waste.  I really enjoy watching the quick transformation from seed to yummy salad so I ordered a second one, which arrived today, to grow cherry tomatoes.  AeroGarden's are a fantastic way to have fresh greens, tomatoes, strawberries, herbs and peppers year round.  For those of you who live in areas that have shorter summers or live in areas where you cannot plant a garden; this is the perfect solution!

I want to show you just how easy indoor gardening can be so I am starting a new batch of lettuce greens along with the new cherry tomato plant.
On March 30, 216, I planted 3 pods of lettuce greens in the left machine and one cherry tomato in the center opening of the right machine.  I then covered each of the seed pods with the enclosed plastic domes and put two blank plant spacers in the right machine.

Next step was to fill each unit's base with water up to the "Fill Line", and add the required amount of Miracle-Gro liquid nutrients to each.  Final step is to plug the units in.  I selected 3:30 p.m. as my start time and once I plug them in, the light turns on and stays on for 16 hours and then automatically shut off.  Each day at 3:30 p.m. the units will turn on again for 16 hours.

Every 4 weeks a red light on the front of the unit will light up as a reminder to add more nutrients and to top of the water to the "Fill Line".


I'm done for now.  I'll update the blog once the first sprouts appear. (my radishes are in the middle)


Each unit (you can select black or white) comes with a box of herbs and a bottle of Miracle-Gro to get you started.

I also ordered a box of mixed salad greens and a box of cherry tomatoes.


The Diva Farmer ~ Come Grow With Us

Tuesday, March 22, 2016

Early Seed Planting

February 2016
I planned out my garden and settled on (6) 4'x4' raised beds that will utilize the square foot gardening method.  After last years growing season and discovering I have a natural skill for producing nothing but weeds, I decided raised beds would be easier to maintain and I could actually afford to have new top soil brought in to just fill the beds and not waste money on areas of the garden that won't be used to produce vegetables.

Once I had the design down, I calculated how many of each plant I would need and which companion plants would provide the best benefit.  I gathered old containers and the biodegradable tray I bought last year and began to plant my seeds.

I read that sprinkling cinnamon on the soil would prevent the grey mold from forming so I dusted everything before placing under the grow lights.  It did prevent the bulk of the seedlings from getting mold but it also kills any bugs living in the soil.  PERK!

It has now been a month and approximately half of the seeds have grown and I still ended up with areas of "mold".  Needles to say I am disappointed but I'm not discouraged. 


I went back to the Internet and did more research on why my seedlings didn't germinate and what was causing the "mold".  Here's what I discovered:

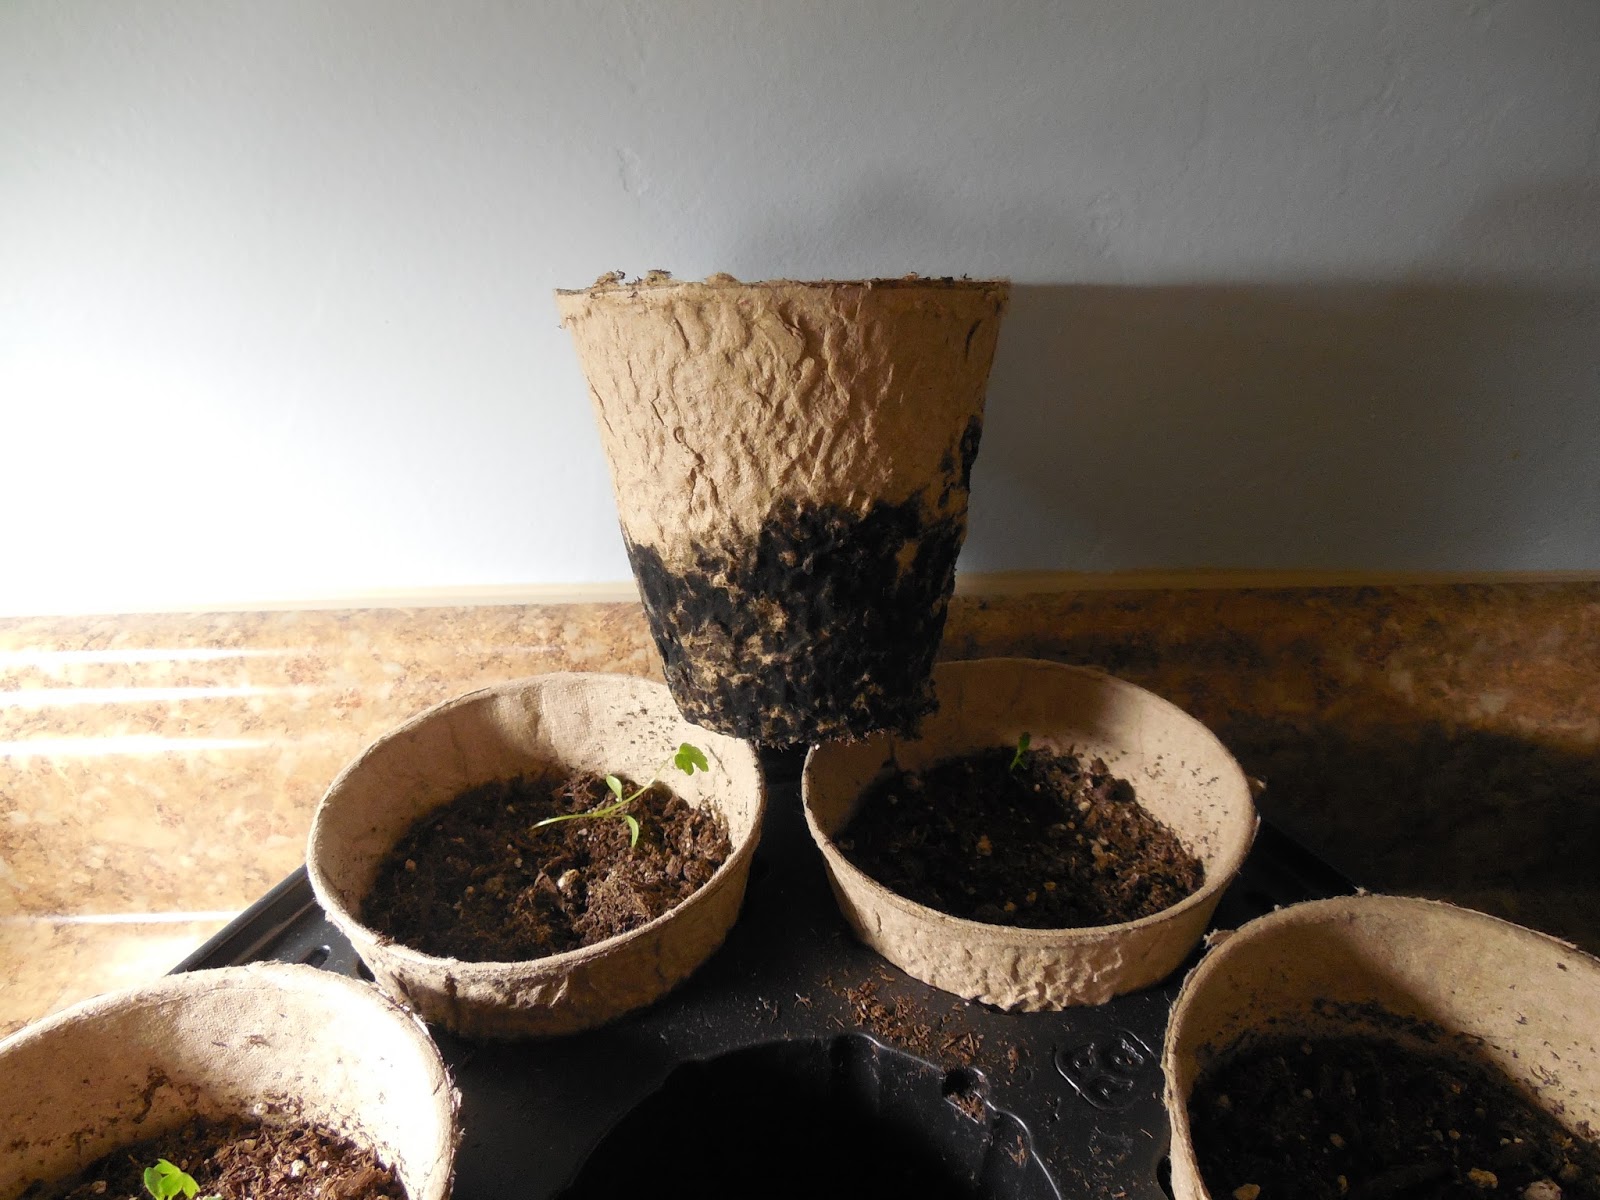
White mold can develop on the surface of wet potting soil.  Soggy soil encourages problems such as saprophytic fungi and may lead to more serious problems, including root rot.  In most cases you can simply scrape the mold from the surface of the soil and place the pot in a well-ventilated area so that the soil can dry.


March 2016
Solution:  I am replanting all the young seedlings from the biodegradable tray into ice cube trays.  At least this way the hole I drilled in the bottom will allow enough water to run off and the plastic sides will not absorb and hold moister for new mold to grow.  I emptied the soil from the containers that did not germinate and will replace with fresh soil as soon as I have new germinated seeds.

I ran across an article about germinating seeds before planting them in your pots.  This way you know that what you plant is already growing and you don't waste time like I did in February planting seeds only to discover half didn't germinate.

I took a paper towel, folded it and then soaked it in water.  After squeezing out the excess water I placed it inside a Ziploc bag and added the seeds.  I wrote the seed name and today's date on each bag (March 8).  I placed them under the grow lights.  To my surprise I actually had germinated seeds by the 11th!


Almost all of the seeds have germinated and been planted; only 4 bags left and they are almost ready!  I will definitely use this method next year and save myself both time and money.

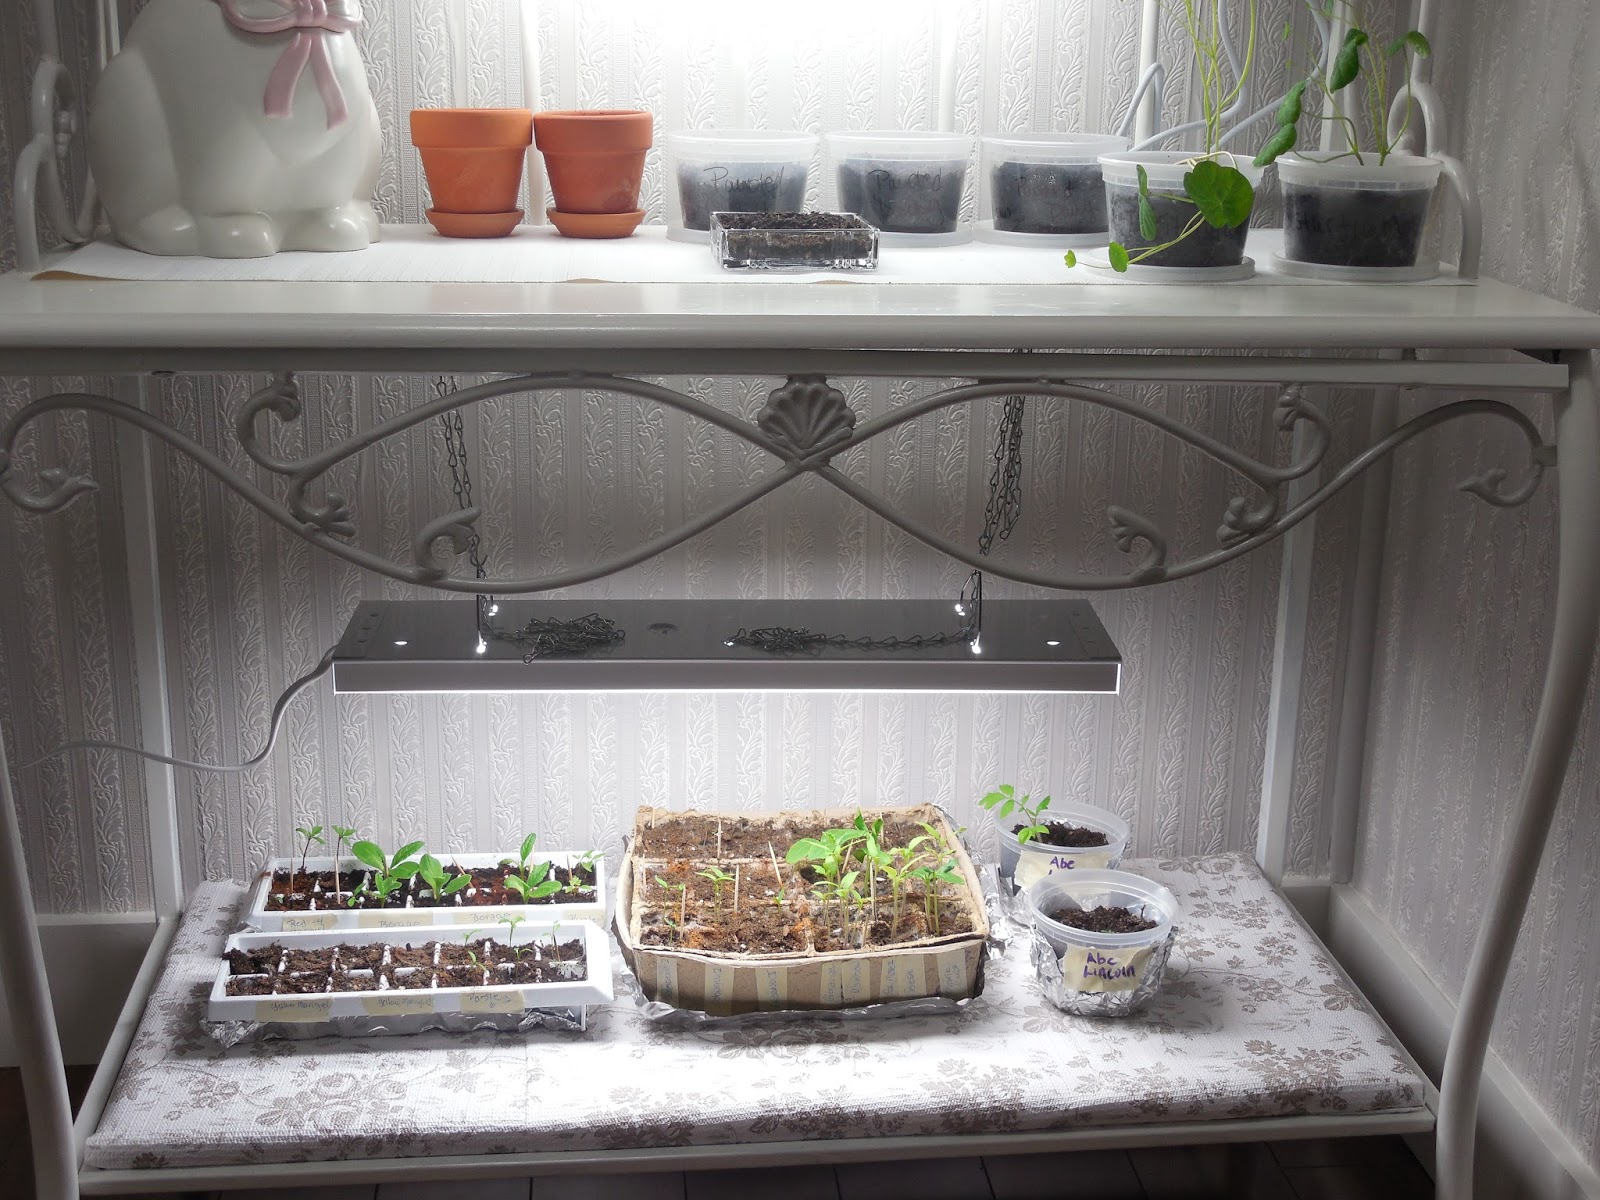
To keep the soil from getting to wet and staying wet, I run a fan for an hour each evening.  it oscillates over the plants and acts as a wind to dry the soil and strengthen the stalks so the plants will be stronger when they finally make it into the raised beds.

Here is a picture of my indoor garden as of March 19th.  The outdoor planting season begins the third week in May so my little guys have plenty of time to get hardy.


The Diva Farmer ~ Come Grow With Us
 

Premier Sponsor

Newsletter Signup

Connect with Me

Premier Sponsor ~ Aimee's Ghost


DESIGN BY: THE BLOG DECORATOR